LED large screen installation and debugging considerations
Date: July 16, 2018 Source: Tuosheng Optoelectronics
LED large screen, as a new media, sports illuminating graphics, more attractive to attract attention, large amount of information, updated at any time, with very good advertising and notice effects. The LED large screen is simpler than the neon light, easy to install and use, the effect is more varied, and the content can be updated at any time. It is a good indoor and outdoor visual media. LED large screens are high-tech electronic products, the price is relatively high, previously used in the government and units. Technology continues to advance, prices continue to decrease, and assembly and maintenance are simpler.
LED large screen as a low-power, large-scale real-time dynamic display information tool, it can display computer-generated dynamic graphic images, LED large screen can be divided into three kinds from the installation environment, one is indoor LED large screen, the second is Outdoor LED large screen, three is a semi-outdoor LED large screen, each installation environment is not the same light, so do not install the wrong, otherwise it is not too bright or too dark. So what do you need to pay attention to during the installation of the LED large screen?
Summarized as the following:
(1) LED large-screen frame material size determination: the frame material size is determined by the finished product specification, but it is also subject to the unit plate specification. When cutting the material, pay attention to the width of the aluminum alloy frame. Since the left and right are two, it is cut in the upper and lower sides. It is necessary to subtract twice the width of the aluminum alloy frame from the finished product specification, and the left and right vertical materials should also take care of this.
(2) The large-screen corner part of the LED is connected by plastic connecting pieces. Finally, it is fixed by self-tapping screws. One corner has four screws, one on each side, and the unit board can be placed after the frame is connected.
(3) The placement of the unit board should be placed according to the specifications of its finished product. The specifications of 4.8*0.48 need to be placed horizontally and vertically. Note that the cell boards are placed in the same direction as the arrows on the cell board.
(4) Tighten the special screws to the unit board, and suck all the magnetic columns. The screws near the left and right frame parts should be screwed on the row in the cell board. This is convenient for fixing the side strips.
(5) LED large screen installation back strip, the back strip must be pre-punched at the two ends, one end two holes, one on the total four holes, fixed with the self-tapping screws and the frame material, and finally let the magnetic column on the unit board adsorb on the back On the bar.
(6) Connect the unit board with the data cable. One end of the data line is inserted into the socket on the right side of the left unit board, and then the other end is connected to the socket on the left side of the adjacent unit board on the right side across the back strip. Connect one by one one by one.
(7) Connect the power cables between the unit boards. Connect the red line to the ACC terminal on the unit board and the black line to the GND terminal on the unit board. Connect one by one, be careful not to confuse.
(8) LED large screen installation power box and wiring. A 40A power supply box can find up to 12 unit boards on the Internet. It is not safe to consult the boss that it is up to 8 unit boards. Considering that the belt is hot, it will be picked up by eight. Observe the total of 9 terminals on the power box received, from left to right: 1, 2 for the mains 220V interface, 3 for the ground, 4, 5, 6 are 5V positive, 7, 8, 9 is a 5V negative pole, understand that this connection is good.
(9) The number of LED large-screen control cards should correspond to the number of rows placed on the cell board, but pay attention to the OE end of the control card on the side of the data cable (the cable). The same corresponds to the OE end, but not the reverse. The RS232 cable is connected to the control card. In addition, the power supply on the control card should be connected to the 5V on the power supply box. It must correspond to the positive and negative poles. It must not be connected to the 220V on the 1st and 2nd terminals. Otherwise, the control card will be burnt.
(10) The LED large screen is connected to the power cable. The power cable should be connected to the 1 and 2 terminals on the power supply box. Do not confuse the power supply box. The other end leads to a two-hole plug for power usage.
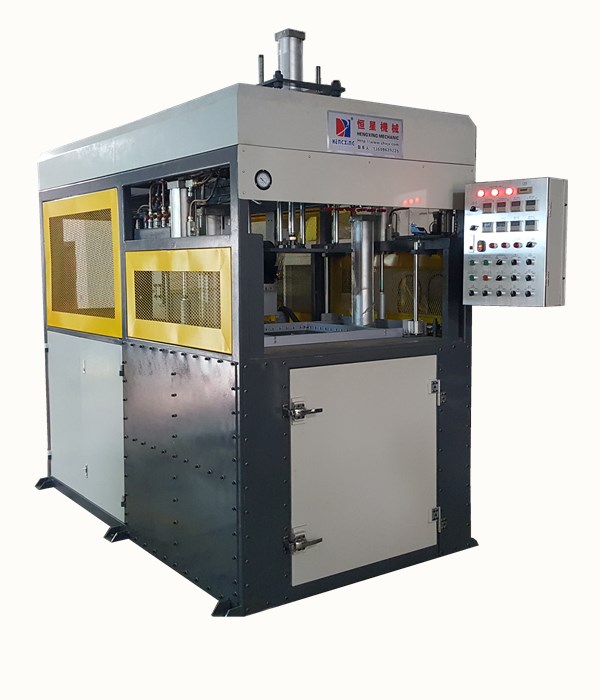
Vacuum
forming machine
Vacuum
forming machine applications
1.Plastic forming machine for vacuum
packing is suitable for materials like VC,PE, PET,PC,PP,HIPS,APET,PETG,PS, etc.
2. Plastic forming machine for vacuum packing can be used to produce snack box,
fruit tray , biscuit box ,toothbrush ,battery , gift, little
hardware, stationary, decorative article , plastic container, pill,etc.
Vacuum
forming machine features
(1)This
machine is fully automatic. Just place plastic roller onto the frame, then
forming, cooling, transporting, cutting can be done automatic.
(2)The control board is near the operator, can be operated easily, greatly
improve the efficiency of production.
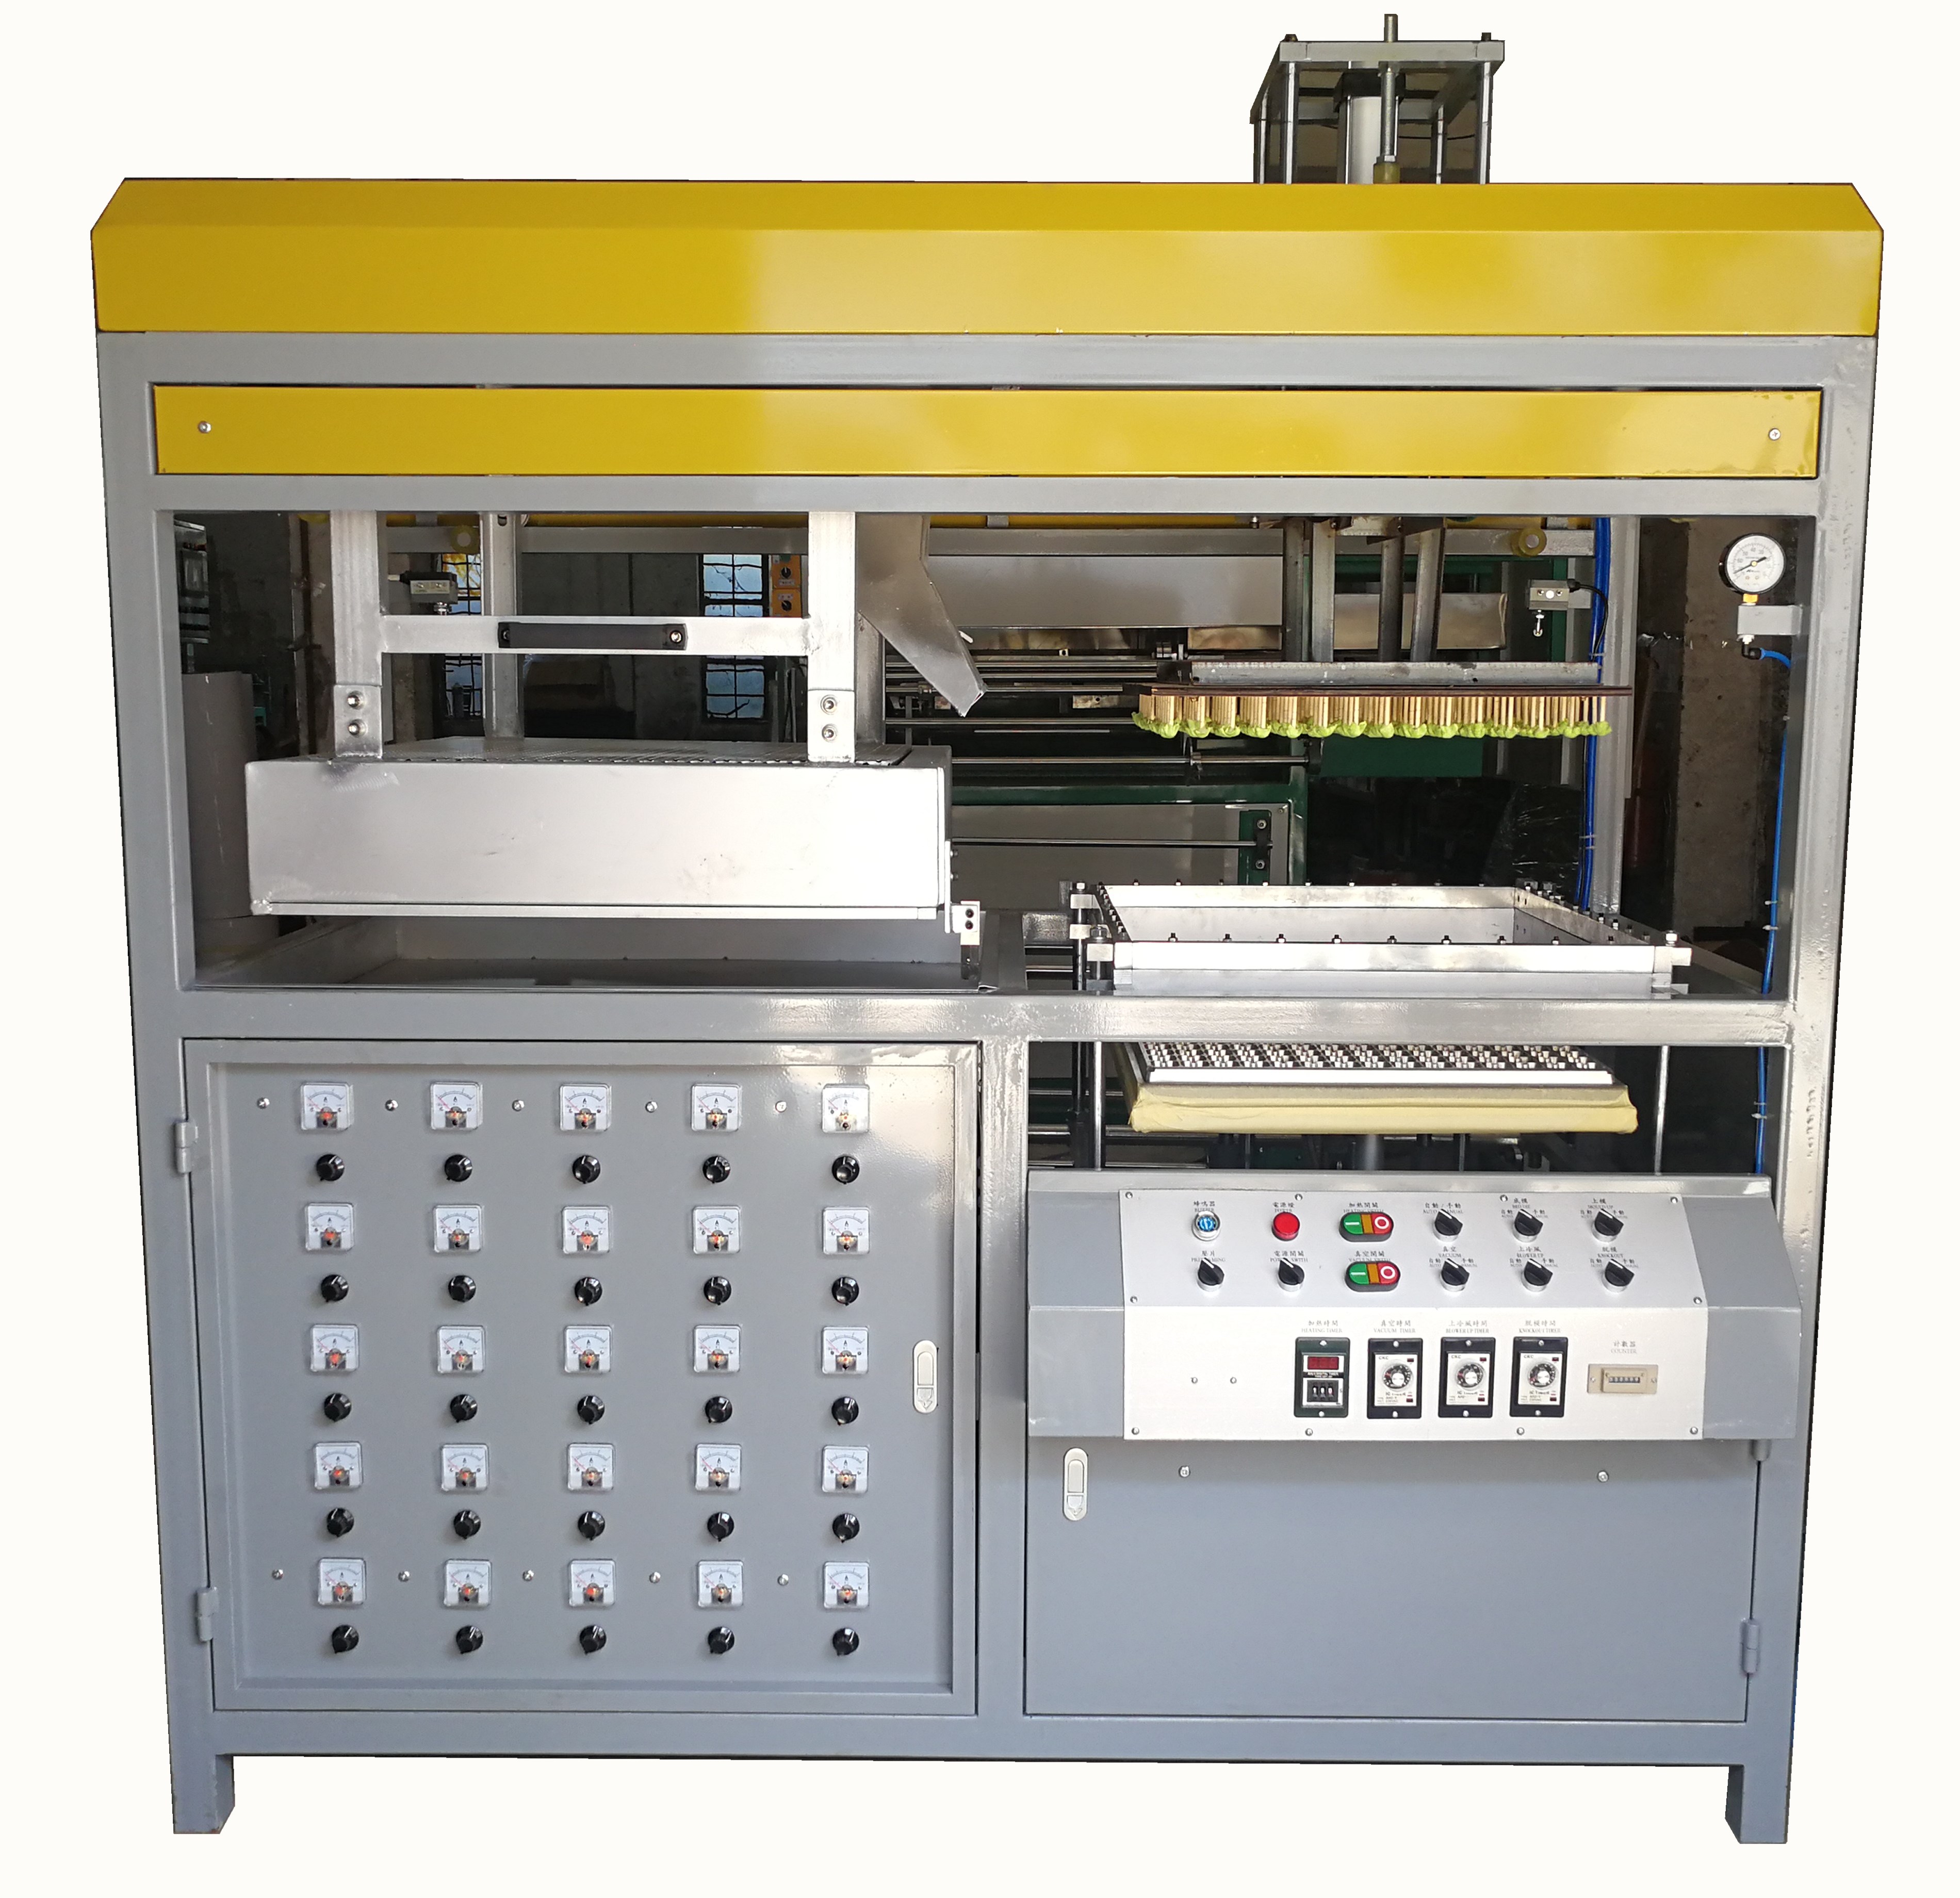
(3)The far-infrared ceramic heating elements can control every single block
heater temperature, more power-saving features, and reducing production cost.
(4)The furnace is guided automatically, mould plate can be adjusted so can be
placed different size of mould.
(5)The cooling system is independent by cold water.
(6)This machine can form all kinds of blisters just replace mould.


Vacuum Forming Machine
Vacuum Forming Machine,Blister Vacuum Forming Machine,Plastic Vacuum Forming Machine,Automatic Vacuum Forming Machine
ShenZhen Hengxing Machinery Factory , http://www.szchxjx.com

